Everyone, stop what you’re doing and find a time to make this chocolate peanut butter cup cheesecake! This creamy chocolate cheesecake is drizzled with a gooey peanut butter topping, and covered in miniature chocolate peanut butter cups.
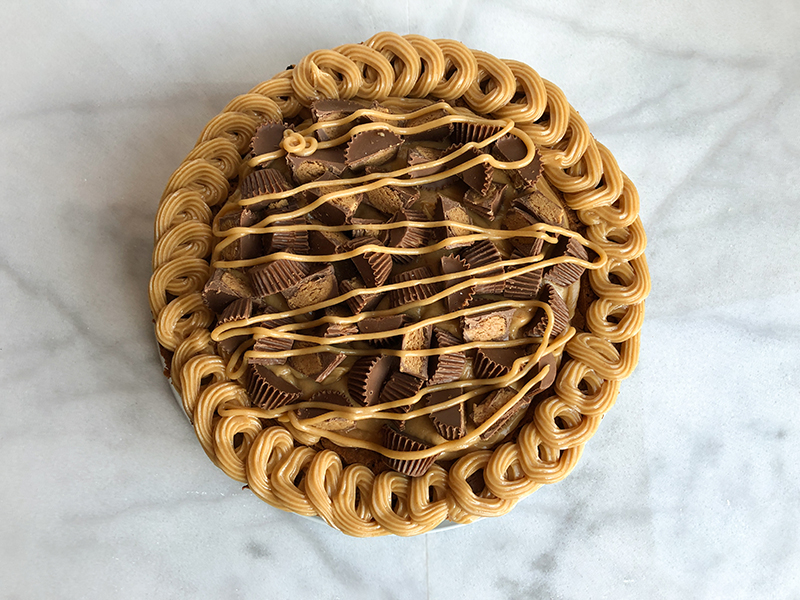
This cheesecake is meant to be eaten at the end of a dinner party and shared with lots of people over coffee. It’s decadent, but not too fancy, and you can make it ahead and then stash it in the fridge until you’re ready to serve it. It only gets better as it sets.
It’s the perfect type of dessert – it looks super fancy, but you probably already have all of the ingredients in your cupboard just waiting to be transformed into this chocolate peanut butter cup cheesecake.
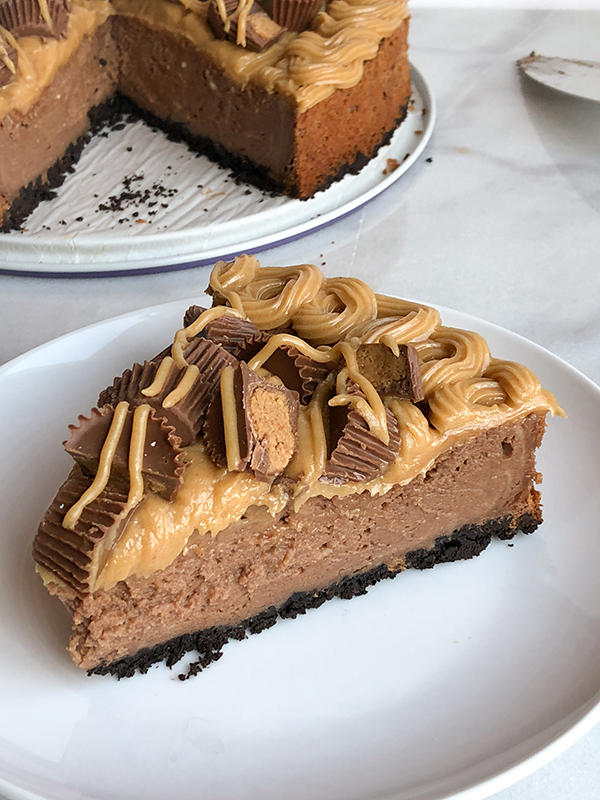
Like everything that comes out of the Sizzling Mess kitchen, it’s completely gluten free (there are notes on the recipe for finding the best type of cookie for the crust), but if you’re not gluten free, you can just use regular cookies in the crust and you don’t have to change anything else!
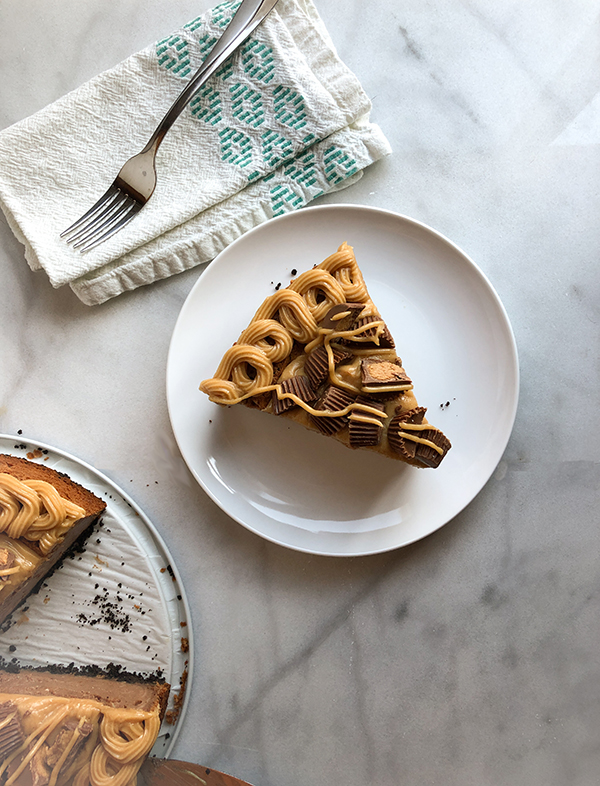
Reese’s chocolate peanut butter cups are gluten free, so that’s what I used (the miniature ones that come in individual wrappers). They’re super easy to chop with a chef’s knife. But this would also be good with any other cups or nut butters.
I didn’t use a water bath in this recipe because I wanted to use my wider, shorter springform pan and I don’t have a roasting pan that can accommodate it, so instead I put a pan of water on the rack underneath to keep the oven humid and keep it from cracking. However, with so many toppings, minor cracking will go unnoticed if yours does crack.
The biggest part of making sure the cheesecake doesn’t crack is just not releasing the sides of the pan before the cheesecake has had time to cool and set. I have ruined perfect cheesecakes this way, so learn from my mistakes.
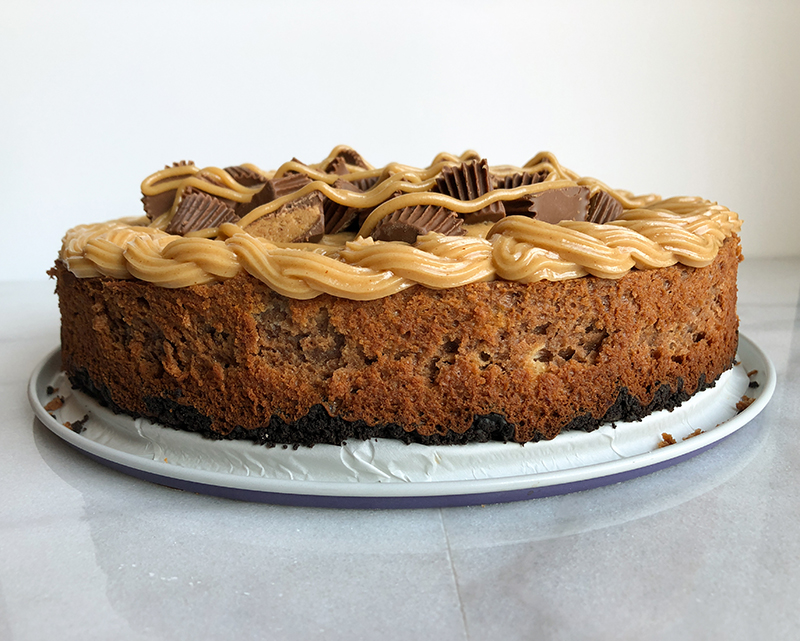
You don’t need anything fancy to make it (besides a springform pan), however, I do recommend piping tips and a coupler for the toppings, and I provide directions for those in the recipe. You can get these things super cheap at a craft store like Michaels, or on Holiday clearance at Target (which is how I get most of my baking supplies).
Seriously, though, you could spread that peanut butter topping on with a spatula and it would still look rustic and delicious. This is the type of cheesecake that is meant to be familiar and comforting, so you do you!
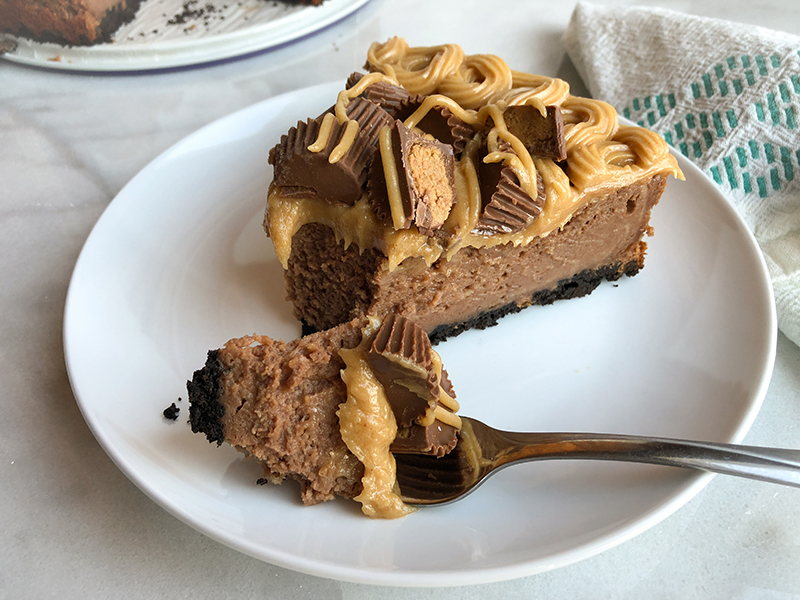
Ready for give it a go? Here’s the recipe!
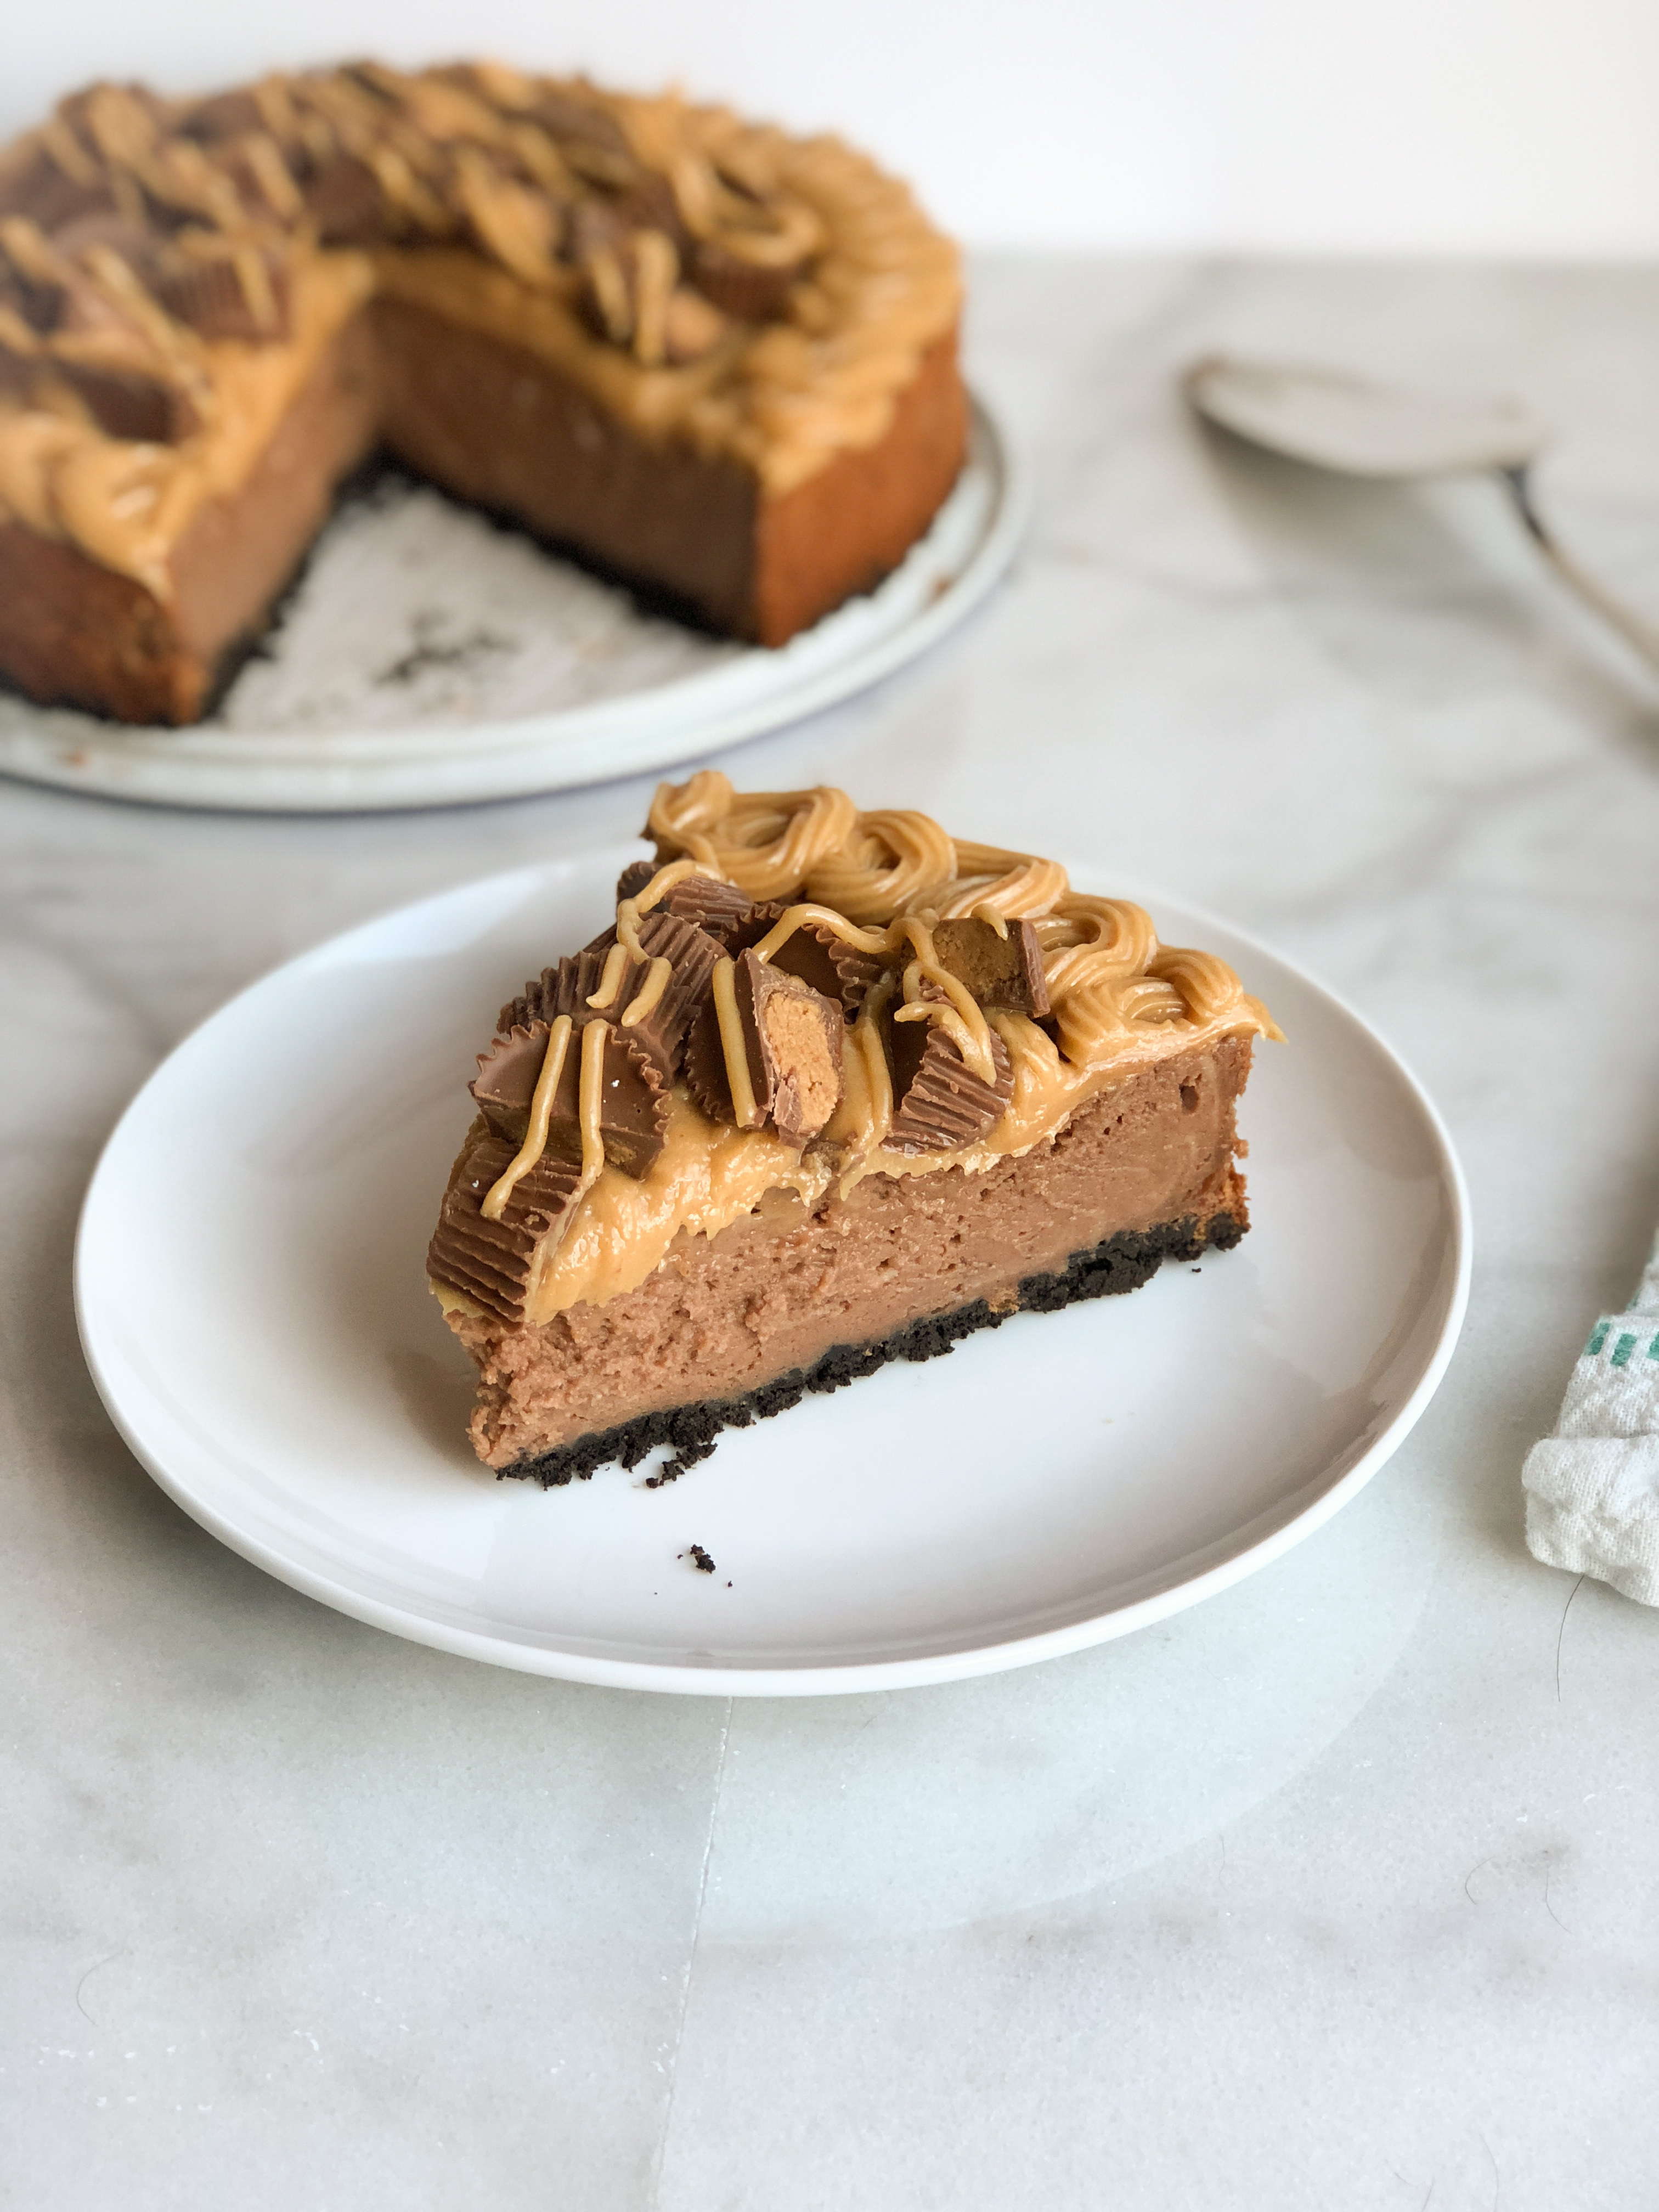
Chocolate Peanut Butter Cup Cheesecake
This creamy chocolate cheesecake is drizzled with a gooey peanut butter topping, and covered in miniature chocolate peanut butter cups.
Ingredients
Special Equipment
- 9 inch springform pan
- large oven safe baking dish filled with water
- piping bag fitted with a coupler and a medium open star tip and a small round tip
For the Crust
- 1 package gluten free Oreos (see notes) about 24 cookies, cream removed
- 1/4 cup unsalted butter 1/2 stick, melted
For the Cheesecake
- 4 8-oz packages cream cheese softened
- 1 2/3 cup granulated sugar
- 4 whole eggs large eggs
- 2 egg yolks large eggs
- 1/4 teaspoon sea salt (see notes)
- 3 tablespoons cornstarch
- 1/4 cup sour cream
- 1 1/2 teaspoons vanilla extract
- 1 cup semi-sweet chocolate chips melted and cooled slightly
For the Topping
- 4 oz cream cheese
- 1 cup creamy peanut butter
- 1 2/3 cup powdered sugar
- 4-6 tablespoons whole milk to thin, see recipe for guidelines
- 25 miniature chocolate peanut butter cups halved
Instructions
-
Preheat oven to 325 degrees F. Line the bottom of your springform pan with a round of parchment paper (trace the bottom of your pan on a sheet of parchment and cut it out).
-
Fill an oven-safe container with water and place it on the bottom rack of your oven to preheat (this will stay for the entire baking time to add moisture to the oven to keep the cheesecake from cracking without needing to do a water bath).
For the Crust
-
Crush the Oreo cookies. You can use a food processor for this, or put them in a gallon-sized ziplock bag and then use a rolling pin to crush them. They should be finely ground, like breadcrumbs.
-
Add the melted butter to the cookie crumbs and mix until all of the cookies have been saturated.
-
Dump your cookie mixture into the bottom of the springform pan and press into the springform pan so that the bottom is covered completely.
For the Cheesecake
-
Melt your chocolate chips, then set aside to cool slightly. (I prefer to do this in the microwave, 20 seconds at a time, for a total of 40-60 seconds, stirring after each time until completely melted.)
-
In a large mixing bowl, or the bowl of your stand mixer, add your cream cheese and beat on medium speed for about 30 seconds. Add in sugar, and continue to beat on medium until the mixture is smooth, about 2 minutes. You’ll still be able to feel sugar crystals, but the mixture should not look gritty. Scrape down sides as needed.
-
Slow mixer to low and add in cornstarch and salt, mixing until just combined. Scrape down the sides of your mixing bowl.
-
Bring mixer back to medium and add in the eggs and egg yolks one at a time, beating until combined between each addition. Scrape down sides of mixing bowl periodically.
-
Once the eggs are fully integrated, add sour cream, vanilla extract, and the cooled melted chocolate and beat until just combined, making sure to scrape down the sides one last time to ensure everything is combined.
-
Pour filling into springform pan and place it on the top rack of your oven, above the water. Bake for 1 hour and 30 minutes or until the sides are completely set but the middle is still slightly jiggly. A cake tester or toothpick inserted into the middle should come out mostly clean.
-
Let cool at room temperature for at least an hour, and then move to the refrigerator until completely cool (about 3-4 hours). Once the cheesecake is cool, you can release the sides of the springform pan (if you do it too soon, you risk the cheesecake cracking).
For the Topping
-
In a medium mixing bowl or the bowl of your stand mixer, beat together cream cheese and peanut butter over medium-high speed until combined. Turn your mixer down to low and slowly add in the powdered sugar, mixing until combined. Then, add milk 1 tablespoon at a time and mix until the desired consistency is reached (you want it to be smooth and slightly sticky, and not grainy at all).
-
If your cheesecake isn’t level on the edges or fell slightly in the middle, use a paring knife to shave off any uneven parts and level it out (it doesn’t need to be perfect, since the top will be covered entirely).
-
Add 1/2 of your peanut butter topping to a piping bag, fitted with a coupler and medium open star tip and pipe a swirl pattern around the edge of the cheesecake. (You will need to change tips after this step, so if you don’t have a coupler, split the half between two bags with 3/4ths of it in the bag with the star tip and 1/4th in the bag with a small round tip.)
-
Add the remaining half of the peanut butter topping from the mixing bowl to the middle of the cheesecake, and spread it out with a rubber spatula, making sure to leave about 1/4 inch between the edge of your piped design and the rest of the topping so it doesn’t get messed up.
-
Sprinkle chocolate peanut butter cup halves over the filling in the middle.
-
Next change piping tip to a small round tip, and pipe the remaining peanut butter mixture over the top of the peanut butter cups in a drizzle pattern.
-
Serve and enjoy!
Recipe Notes
What is a coupler? A coupler is an attachment that allows you to easily change piping tips without completely filling a new piping bag. They have a part that goes inside of the piping bag, and then a ring that screws onto the outside. To use one, unscrew your couple, and place the cone-shaped part inside the bag with enough space for the threads to stick out, but not enough that the whole thing pops though. Put your piping tip on the outside of the coupler, then screw the ring around the outside of the tip. Fill your piping bag and proceed as usual.
OREOS: Any brand of gluten free chocolate sandwich cookie will work. The closest I have found in taste and texture to regular brand-name Oreo’s are the Great Value brand gluten free chocolate sandwich cookies from Walmart!
Why sea salt? Normally in my recipes I call for kosher salt, but because kosher salt changes so much brand-by-brand it doesn’t always provide consistent results. While that is okay in most recipes, in baking recipes, exact amounts matter, so I call for sea salt because the salt granules will be more consistent from one brand to the next. I NEVER recommend table salt for any recipe because it has added iodide that gives it a bitter flavor.
Not gluten free? Use regular Oreos for the crust.

Leave a Reply